Connecting to DevNet with Docker - v0.7.1
Purpose:
This document walks you through how to connect to our DevNet, bond, deploy, and unbond using docker. If you wish to perform a deployment, smart contracts must be built locally. We have example contracts you can build. Please also check your Network Configuration.
System Configuration!
We currently recommended a system with at least 2 GB of RAM and a large disk (1 Tb) that is separate from your OS/Home directories.
We use the Home directory in this doc only as an example. The same methods apply with using a different disk by just updating the paths in your commands.
Step 1 - Create your keys and fund them on DevNet
Funding Your Account for DevNet:
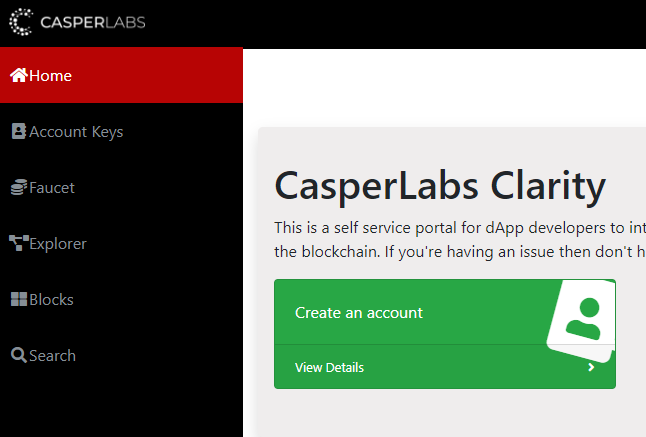
Browse to explorer.casperlabs.io
Sign in with either Google or Github account
Click the the Big Green Button: "Create an account"
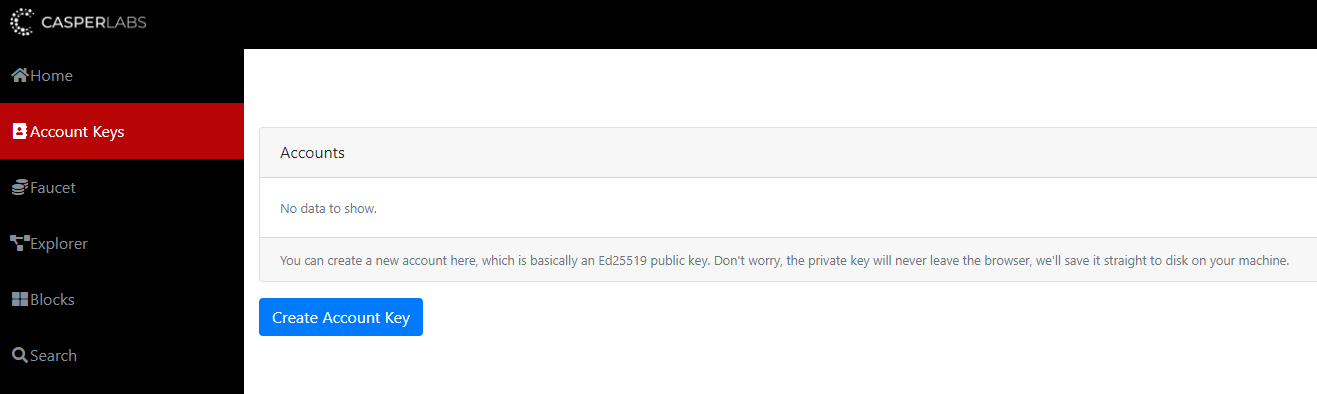
On the Account Keys page you were brought to click "Create Account Key"
Give the key a meaningful name, note down your Public/Private Key strings somewhere safe, and click save.
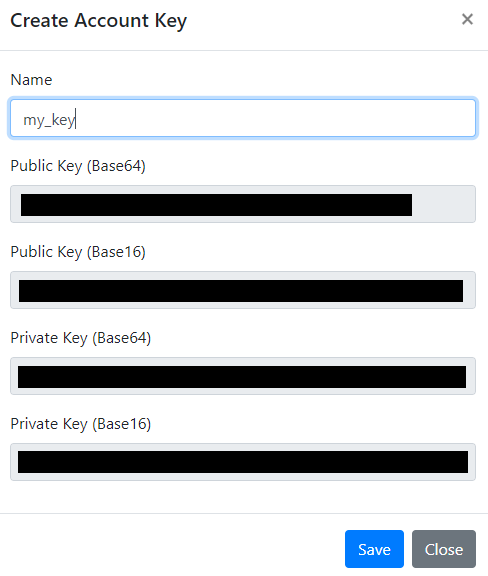
Your Public and Private key files will be downloaded locally, save them to a location accessible by your node.
Click on the "Faucet" tab on the left hand side of your screen.
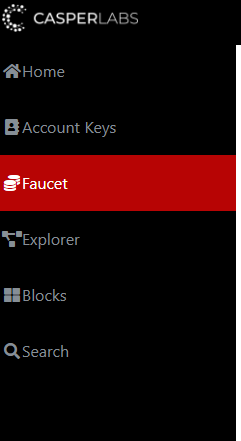
Select your Account you just created and click "Request tokens"
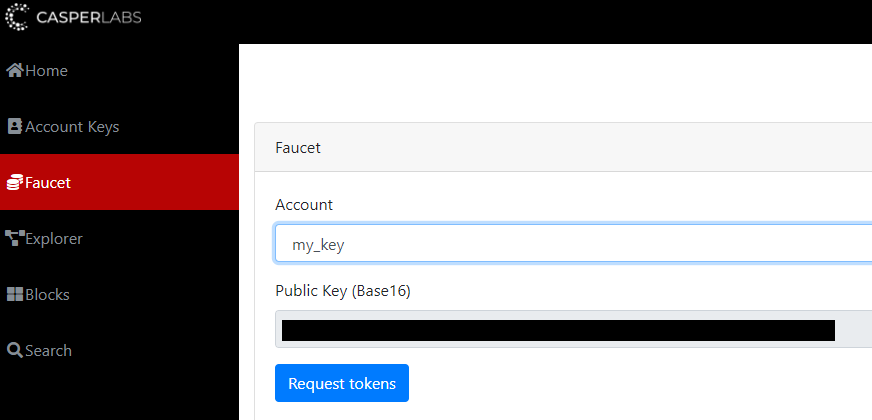
You will see a deploy kicked off that will fund your account. When it's finished you will see a green check. You may need to click the refresh icon.

Step 2 - Set Up and Run your node
Pull down the latest casperlabs docker images
docker pull casperlabs/node:latest
docker pull casperlabs/client:latest
docker pull casperlabs/execution-engine:latest
Create the data directory you plan to use for your node. In this case, we are using are home directory.
mkdir -p ~/.casperlabs
Create a docker network so that the node and execution-engine can communicate on. (This is technically not always needed but it doesn't hurt and makes things simple ![]() )
)
docker network create casperlabs
Generate a tls certificate and key to be used by your node. If you don't know how you can use our provided docker image for this:
Storing Keys
These directions place the keys in the data directory. It is possible to put them anywhere you wish - provided this directory is mounted to the Docker container later. This process will also generate some additional keys but you can ignore these. Also the keys may be owned by root and will need to be chown'ed to your user. This is a known issue and will be fixed in the future.
docker run -v ~/.casperlabs/:/keys/ casperlabs/key-generator:latest /keys
Start the execution-engine: (--rm will remove the container and logs on shutdown, so feel free to remove this flag. You can also name your container anything you wish)
docker run --rm --name cl-engine -dit -v ~/.casperlabs/:/root/.casperlabs/ --network casperlabs casperlabs/execution-engine:latest /root/.casperlabs/.casper-node.sock
Start the node: ( Again, --rm will remove the container and logs on shutdown, so feel free to remove this flag. You can also name your container anything you wish. Remember to adjust the paths as necessary!)
pay attention to --casper-validator-private-key-path & --casper-validator-public-key-path as these will be the keys you stored from the explorer or generated from the prior steps.
docker run --rm --name cl-node -dit --network casperlabs -p 40400-40405:40400-40405 -v ~/.casperlabs/:/root/.casperlabs/ casperlabs/node:latest run --server-data-dir /root/.casperlabs --grpc-socket /root/.casperlabs/.casper-node.sock -b "casperlabs://f8f4729cc394c26048e4c5c10c74f3e179a4741d@18.191.243.242?protocol=40400&discovery=40404" --tls-certificate /root/.casperlabs/node.certificate.pem --tls-key /root/.casperlabs/node.key.pem --casper-validator-private-key-path /root/.casperlabs/my_key.private.key --casper-validator-public-key-path /root/.casperlabs/my_key.public.key --server-use-gossiping --casper-auto-propose-enabled
This will launch the node. The first step after connecting to the network will be to start downloading blocks. You will know when your node is caught up by verifying your last synced block matches what is shown under "Blocks" on explorer.casperlabs.io
Sending a Bonding Request
A bonding request is a special kind of transaction. For the DevNet, transactions can be sent to deploy.casperlabs.io.
It is possible to send a bonding request to deploy.casperlabs.io at any time, but your node will not be able to propose blocks until it receives and processes the block containing the bonding request from the network.
Example Bonding Request
docker run --rm --network casperlabs -v ~/.casperlabs/:/root/.casperlabs/ casperlabs/client:latest --host deploy.casperlabs.io bond --amount 10000 --private-key /root/.casperlabs/my_key.private.key --payment-amount 1
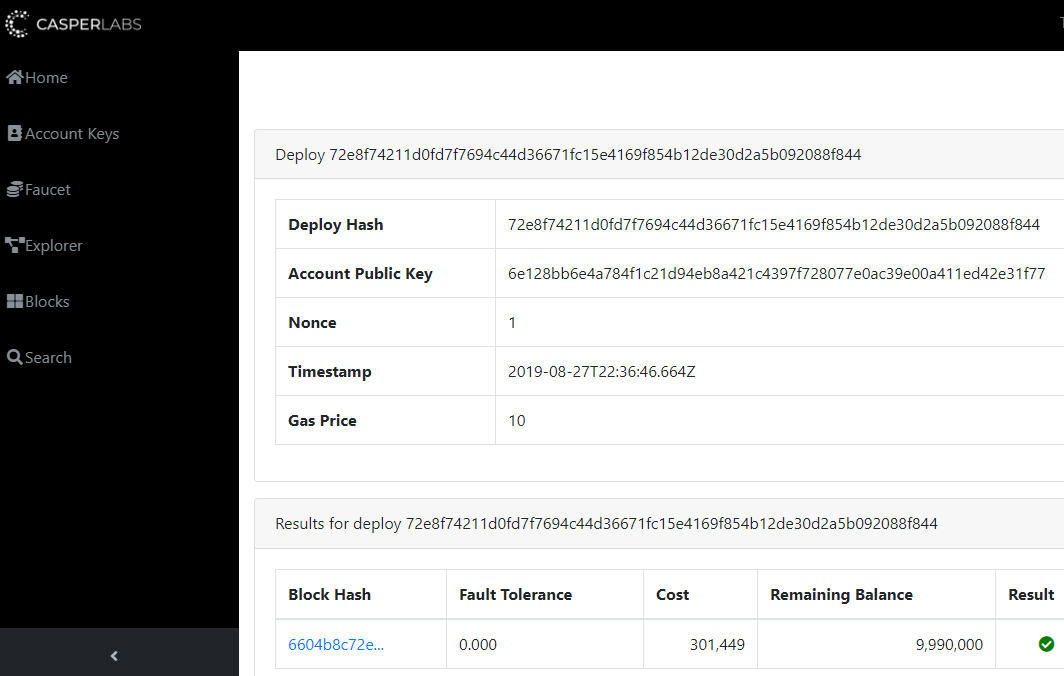
You can verify your bond by viewing the deploy hash you received either through the command line with show-deploy or with the explorer.
docker run casperlabs/client:latest --host deploy.casperlabs.io --port 40401 show-deploy 72e8f74211d0fd7f7694c44d36671fc15e4169f854b12de30d2a5b092088f844
Now that you are bonded, you can send a deploy!
--host will be the name you gave to your node container, in my case cl-node
--from will be your public key in Base16
Example Deployment from the newly bonded node
docker run --rm --network casperlabs -v ~/contract-examples/target/wasm32-unknown-unknown/release/:/data/ -v ~/.casperlabs/:/root/.casperlabs/ casperlabs/client:latest --host cl-node deploy --from <public key base16> --gas-price 1 --session /data/helloname.wasm --payment /data/helloname.wasm --public-key /root/.casperlabs/my_key.public.key --private-key /root/.casperlabs/my_key.private.key
You should see your node validate and propose the block in your logs!
Lastly, when you are finished with your node you can unbond it from the network.
docker run --rm --network casperlabs -v ~/.casperlabs/:/root/.casperlabs/ casperlabs/client:latest --host deploy.casperlabs.io unbond --amount 10000 --private-key /root/.casperlabs/my_key.private.key --payment-amount 1